
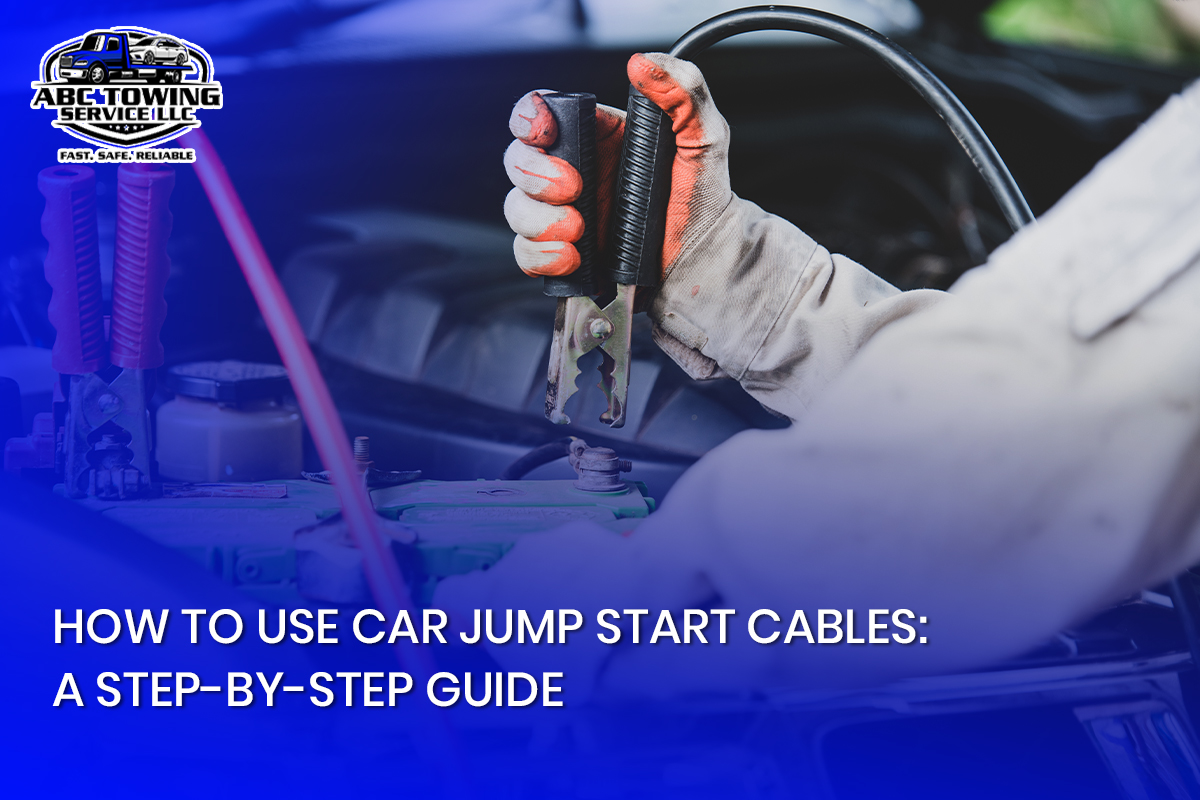
Have you ever turned your car key and heard nothing but silence? That feeling of dread is all too understandable. A dead battery can badly demolish your plans and leave you stuck, but there’s no need to worry. Many people believe that jump-starting a car is complex. But it is simpler than you might think.
You simply require the proper car jump start cables and some knowledge. It does not matter if your battery died from leaving the headlights on in extreme weather or old age because this guide will teach you exactly what to do. Car batteries store high power, so safety is key. Follow these simple steps to learn how to handle those jump cables correctly and bring your car back to life without a hassle.
Tools & Equipment Needed
Collect the appropriate tools to Jump–start the car safely. No, duct tape isn’t going to assist in this situation. You require:
1. Jumper wires: Robust, shielded wires equipped with strong clips. The more extended, the superior.
2. Battery booster pack: A mobile substitute for jumper cables.
3. Protective equipment: Gloves and safety goggles. Due to the priority of safety.
4. A functioning vehicle: The champion car that will provide its battery energy.
Cables for Jumping vs. Portable Jump Starter
Jumper cables are cheap and reliable. However, you require a different vehicle. Conversely, portable jump starters do not need another vehicle. They cost more but are useful in urgent situations.
Best Brands for Jump Starters
· NOCO Boost Plus: Reliable and powerful.
· Schumacher DSR115: Heavy-duty option.
· Calore Automotive Jump-N-Carry: Affordable and effective.
Now that you have your tools, let’s get started on how to use jump-start cables properly.
Step-by-Step Car Battery Jump Start Tips

Step 1: Position the Cars Safely
· Park the working car close to the dead car, but don’t let them touch.
· Turn off both vehicles.
· Engage parking brakes on both.
Step 2: Identify Battery Terminals & Check for Damage
· Open the hoods and find the batteries.
· Identify positive (+) and negative (-) terminals.
· If you see corrosion or leaks, stop. A damaged battery is dangerous.
Step 3: Proper Cable Connection Order
1. Attach the red clamp to the dead battery’s positive (+) terminal.
2. Attach the second red clamp to the positive terminal of the functioning battery.
3. Attach the black clamp to the good battery’s negative (-) terminal.
4. Connect the other black clamp to a clean, unpainted metal surface on the dead car (NOT the dead battery!).
Step 4: Start the Working Car & Wait
· Start the donor car.
· Let it run for 2–5 minutes to charge the dead battery.
Step 5: Start the Dead Car
· Turn the key in the dead car.
· If it starts, let it operate for a minimum of 15 minutes.
· Wait a few more minutes and try again if the result is the opposite.
Step 6: Disconnect Cables in Reverse Order
· Remove the black clamp from the dead car.
· Remove the black clamp from the good battery.
· Remove the red clamp from the good battery.
· Finally, remove the red clamp from the dead car.
Your car should be running now! Travel for at least 30 minutes to replenish the battery.
Safety Measures & Errors to Steer Clear Of
· Never mix up the cables. Wrong connections can fry your car’s electronics.
· Don’t let cables touch metal surfaces. Sparks = bad.
· Check for battery leaks. If it smells like rotten eggs, step away.
· Hybrid & electric cars? Check the manual. Jump-starting them is a different game.
Resolving Issues If It Fails
I attempted all options, yet your vehicle still won’t start. Here’s what could be incorrect:
· Dead battery: It won’t retain a charge if it is old.
· Faulty alternator: It is another issue when your battery is okay but is not receiving power from the alternator.
· Defective starter motor: This might be the problem if you notice a clicking noise.
Consider using a portable jump starter or contacting roadside assistance.
Battery Maintenance & Prevention Tips
Want to avoid this mess in the future? Follow these car jump-start instructions:
- Drive regularly. Short trips don’t give the battery time to recharge.
- Keep battery terminals clean. Corrosion can block power flow.
- Test your battery. Use a battery tester every few months.
- Winter care: Cold kills batteries faster. Keep a charger handy.
- Summer care: Heat evaporates battery fluid. Check levels often.
Conclusion
Now you know how to bring your car back from the dead. Using car jump start cables is easy when done right. Just remember the correct cable order, safety steps, and troubleshooting tricks.
To avoid this hassle again, check your battery regularly. If this happens too often, it might be time for a replacement. Need reliable jump starter services? We have got you covered. Stay prepared and drive safe!
FAQ
Can A Car Be Jump-Started During Rain?
Yes, but be extra careful. Avoid touching metal parts and keep the cables dry.
How Much Time Should I Allow My Car To Run After A Jump Start?
At least 30 minutes or drive around. This helps recharge the battery.
Can A Defective Alternator Result In A Dead Battery?
Of course, if your alternator does not charge the battery, it will keep dying.
Can I safely jump-start a car?
Of course, but only if you grasp what you are undertaking. A portable jump starter can simplify the process.